Here are the screenshots of my experiment:

This first screenshot shows a small detail which I acknowledged that will help me in future designs, especially when it comes to modeling my 3D environment. In the bottom drop down menu under 'Render Stats' there is a tick box highlighted 'Double Sided'. When unselected I am able to see through two walls of my surface, so any objects or tools in my environment can be easily seen and altered. This is good so I don't have to keep trying to physically 'enter' the environment, as I can see it through the walls from the outside. A small but important function in Maya for future works.

In this image I have 3 types of light. The first, which is my light source is located on the ceiling directly above the box objects. This light is a 'Spotlight' which will produce the most visible light. Firstly I added the Spotlight into my environment and adjusted the brightness intensity to quite low. I did this because I didn't want my scene to be too 'bright' as I wanted shadows to be equally as important. Glimpses of light on objects are sometimes all that is needed to create a real sense of 'depth' within environments. I learned this through 'Dan Kitchener' painting methods with his own environmental designs.

In this image I had to adjust the settings of the Spotlight so that the light itself had some sort of diffusion. In doing this will stop my light from appearing sharp and unrealistic. Diffusion will add a softness and fall off radius, which lights naturally like this do. I went onto the 'Channel box' menu and adjusted the Cone angle, Penumbra angle and drop off radius to generate that diffused effect. I changed the values a few times between renders so that I got the perfect visual look.

These next two screenshots show just how well adjusting these values work. A few small settings can make such a big difference when applying lighting to a scene. You can see in the above image, the unaltered Spotlight source. The light is very solid and sharp, bringing no depth or effect to the environment.

In the image above we can see just how different the Spotlight is when we change a few of those settings. The light has diffused, creating a soft edge and gradient, which also slightly touches the edges of the objects in the room. This technique is already adding depth to the scene because we can already make out shapes of an image, even if slightly. The gradient of light doesn't stay in one solid shape, it blends outwards as light realistically does.

Although my spotlight effect works well, it is not enough to entirely illuminate my scene. I decided to add another two 'Area' lights to two opposite sides of the walls. I chose a very low intensity level so that the two new lights didn't overly brighten the scene. These two lights very subtly illuminate the space which when rendered, makes it appear that the spotlight is the one doing all the work. Even though there are 3 lights, it often takes more of them to produce the effect of one light source. Understanding the science and behavior of light, makes it easier to apply lighting techniques in 3D software, as you have a visual eye for the representation.
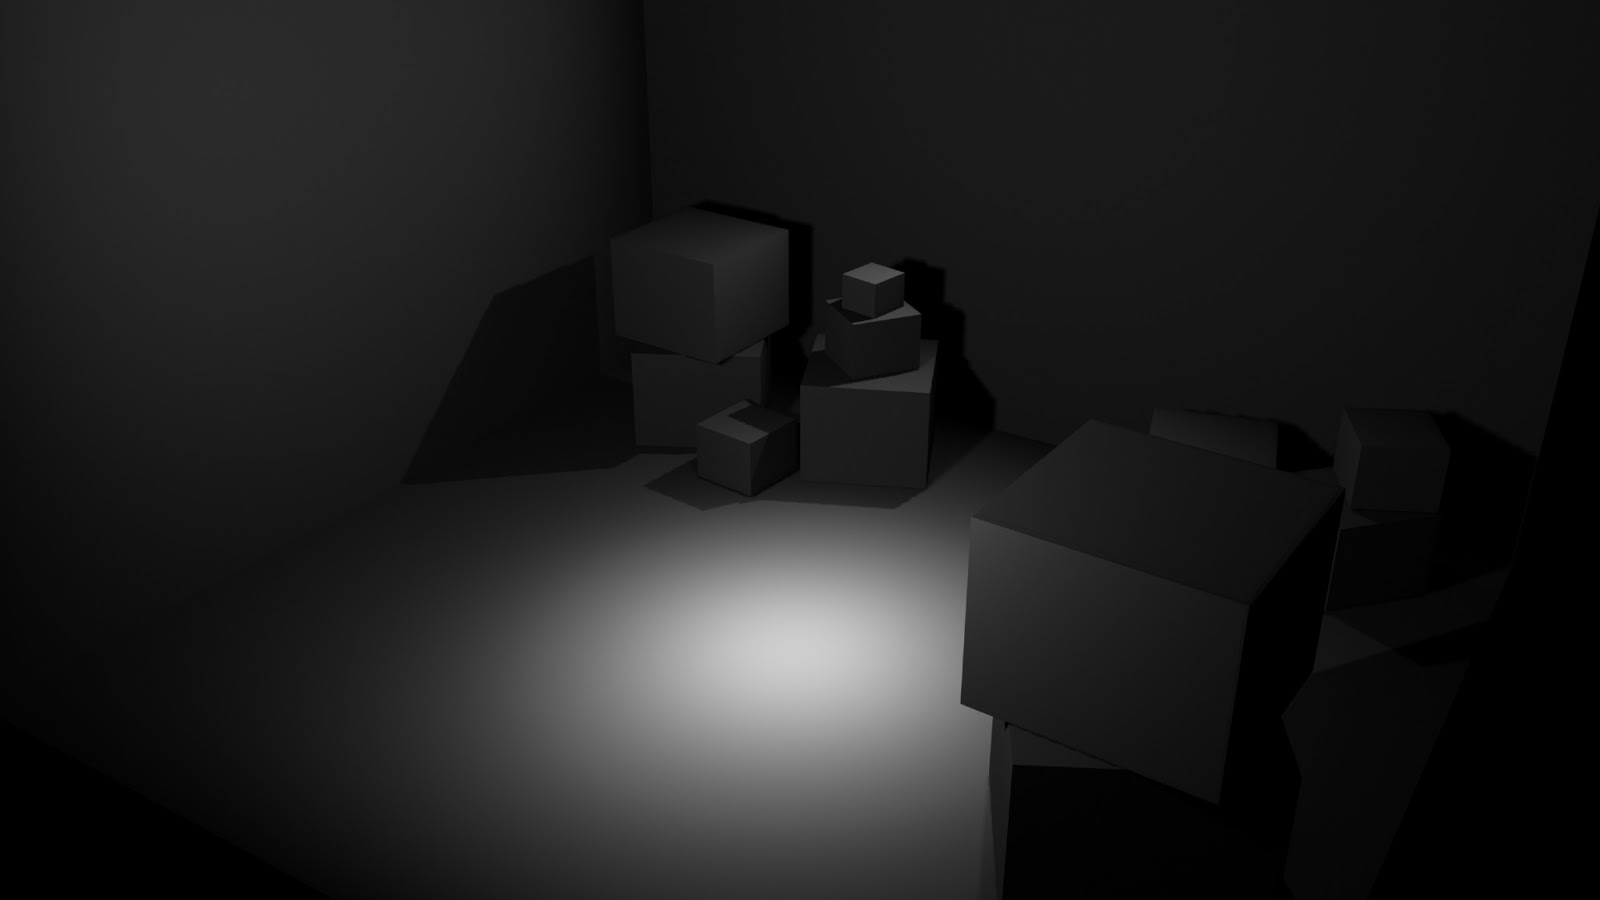
Here is a screenshot showing the render of my lighting techniques. You can see how the 3 lights have brought visual depth to the room, highlighting the box objects in a subtle way. The objects are illuminated in a gradient method thanks to the combination of lighting methods. The small boxes that are more central to the spotlight have a more intense brightness on the surfaces, whereas larger more distant boxes have less surface light, bringing them into the shadows. This method of lighting really does add depth to a scene. I am thoroughly pleased with how these turned out and plan to implement some of these lighting techniques to my own final production later on.

No comments:
Post a Comment